LB7 Duramax Diesel 6.6L R&R Remove and Replace
Working on any automobile engine can be intimidating, and that is the very reason why mechanics stay in business, However some tasks that seem intimidating are not actually that difficult if you have the right tools and the right knowledge to complete the task at hand,
The following instructions are on how to remove LB7 Duramax Fuel Injectors. This task is often considered a difficult process to complete, but these instructions will break down the process and make this task seem simple.

Duramax Diesel LB7 Engine 2001-2004
GMC or Chevrolet Pick-up Truck
GMC or Chevrolet Pick-up Truck
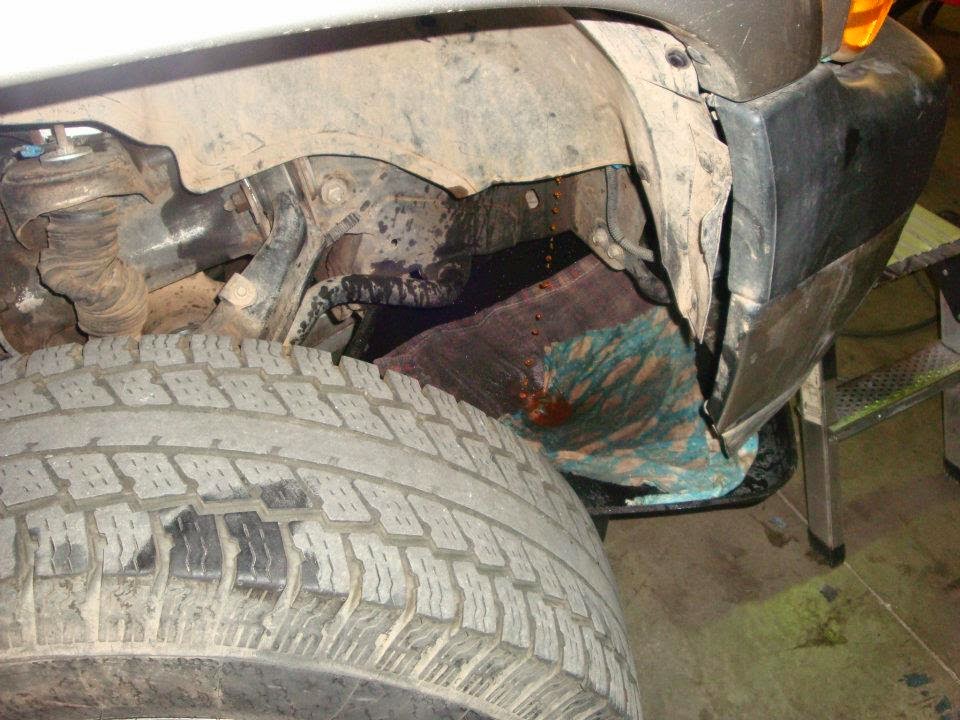
Drain the Coolant
find the drain valve on the passenger side of the wheel well and drain the coolant. To capture the
debris,use a bucket and a cloth for a filter.
debris,use a bucket and a cloth for a filter.
Caution: This step is very important to ensure the combustion chamber won't fill with coolant during the last step of removing the fuel injectors if an injector cup pull out during this step.

Disconnect the Battery
While the coolant is draining, disconnect the battery. This action will prevent any damage to your ECM of modules.
While the coolant is draining, disconnect the battery. This action will prevent any damage to your ECM of modules.

Remove A/C Condenser
Using a fan belt tool of 1/2 drive ratchet, remove the tensioner pulley nut on the passenger side of the engine
Using a fan belt tool of 1/2 drive ratchet, remove the tensioner pulley nut on the passenger side of the engine

Remove A/C Condenser
Then, remove the A/C condenser and fold the condenser by placing it on top of the passenger side battery, There is no need to evacuate the A/C
Then, remove the A/C condenser and fold the condenser by placing it on top of the passenger side battery, There is no need to evacuate the A/C

Remove Water Thermostat and Coolant Neck
Next, you will need to remove the water thermostat and coolant neck, We recommend replacing the thermostats at this point. we suggest using OEM thermostats.
Next, you will need to remove the water thermostat and coolant neck, We recommend replacing the thermostats at this point. we suggest using OEM thermostats.

Remove the FICM
You will now need to remove the Fuel injection Control Module (FICM) from the engine so you can easly wor under the valve covers. slide the plastic tabs outwards to remove the FICM. Slide the tabs inward to install it back.
You will now need to remove the Fuel injection Control Module (FICM) from the engine so you can easly wor under the valve covers. slide the plastic tabs outwards to remove the FICM. Slide the tabs inward to install it back.

With the FICM removed, you should remove the Glow Plug Harness next suing a 8mm Ratchet Wrench. There will be 4 nuts on each side of the heads. Be patient. This part is tedious work.

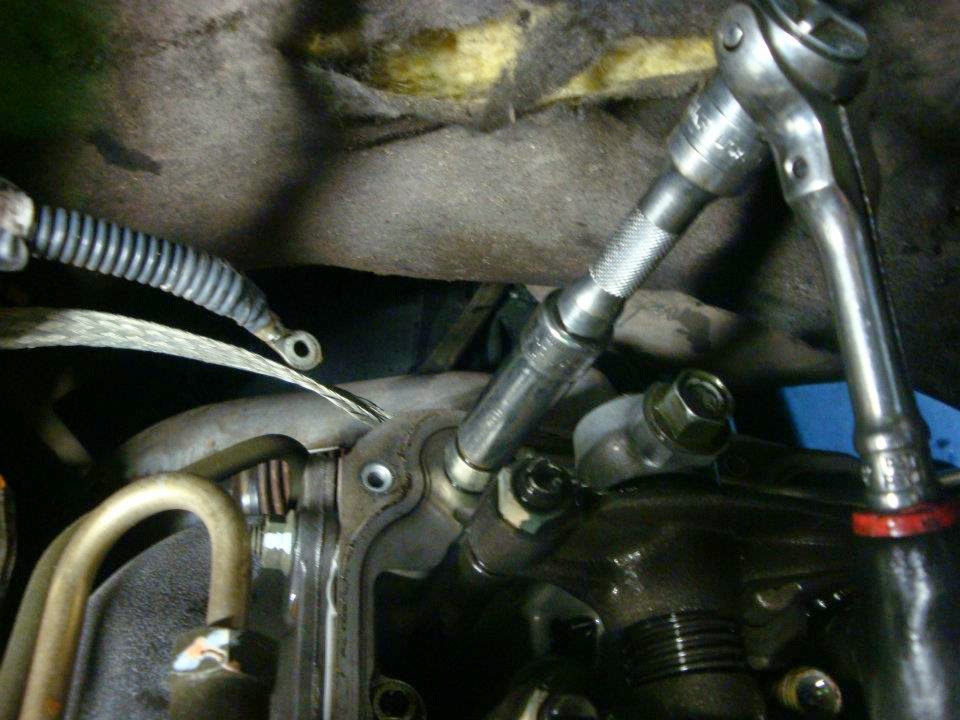
Now, remove the fuel lines with a fuel line disconnect tool, (You can purchase this tool at any automotive or hardware store for around $10 - $15 Dollars)

Remove the Fuel Injector Keys
This key was designed to ensure the fuel injector does not come loose from vibration. Remember to reinstall this key when you are putting the fuel lines back together.

Finally, remove the fuel lines on the engine with a 3/4 or 19mm wrench. If you find the lines difficult
to remove, use penetrating fluid or WD-40. Spray on the liquid and let is sit for a few minutes to loosen up the lines.

Know that the valve cover is glued together with silicone.
Tip: Use a pry bar to push the valve cover up of hit it with a rubber hammer to loosen it up.
Tip: Use a pry bar to push the valve cover up of hit it with a rubber hammer to loosen it up.

Caution: Be careful no to lose the 4 bolts of the harness at the bottom of the oil pan.

Remove the Lower Valve Cover.
For this step, remove the lower valve cover with a 5mm Allen Wrench. Be sure to take your time with this removal. Also,clean the outside of the valve cover with a shop vacuum so that you don't get dirt in the heads.
For this step, remove the lower valve cover with a 5mm Allen Wrench. Be sure to take your time with this removal. Also,clean the outside of the valve cover with a shop vacuum so that you don't get dirt in the heads.

Remove the Fuel Returned Lines.
Now that you've removed the lower valve cover, you will need to remove the fuel return line using a 5mm Allen Wrench.
Tip: When reinstalling this item, make sure you only use 10 lb of torque. Also, do not use the old banjo bolts with the reinstallation. By new bolts and don't cheat yourself or the engine.
Remove the Fuel Return Banjo and Fuel Line
The fuel line will have a 12 mm bolt o each side of the head, Remove these bolts and be careful, when you find a Banjo washer, don't loose it, but also don't reuse it. Buy a new one for the reinstallation.
The fuel line will have a 12 mm bolt o each side of the head, Remove these bolts and be careful, when you find a Banjo washer, don't loose it, but also don't reuse it. Buy a new one for the reinstallation.

Remove the Fuel Injector
In this step, you've finally reach the fuel injector. The fuel injector will have a Injector Hold Down, and you will need to use a 8 mm Allen Wrench to remove the bolt.
Tip: When reinstalling the fuel injector torque to 45 lbs of torque, the injector hold down.
In this step, you've finally reach the fuel injector. The fuel injector will have a Injector Hold Down, and you will need to use a 8 mm Allen Wrench to remove the bolt.
Tip: When reinstalling the fuel injector torque to 45 lbs of torque, the injector hold down.

Here, you see the fuel injector has been removed. Use a small pry bar (and a little patience) to pry open the Injector Hold Down where you removed the 8 mm bolt. If you have any difficulty removing it, spray WD-40 in the injector hole or bore, This will soften the carbon buildup in the injector tip.
Tip: The small pry bar used in this picture can be purchased from your local parts house or you can obtain this from a automotive or hardware store for a reasonable price.
Tip: The small pry bar used in this picture can be purchased from your local parts house or you can obtain this from a automotive or hardware store for a reasonable price.

The Final Stretch.
This is the fuel injector cup. Don't worry if the cup has come out of the head just make sure you replace the injector cup with a new one. The cost of the cup is about $35 and 2 o'rings at $2.50 each.
Tip: Make sure when you install The new injector cup that you used red loctite on the tip of the cup for better sealing.

New and Old Fuel Injectors
The new injector is on the left and the old injector is on the right. As you can see, the old injector has a lot of corrosive rust and debris.

Finally, Replace all the injectors.
Tip: You can upgrade the injectors nozzles to improve fuel mileage and driveability. It is recommended that you don't use nothing larger than an 15% increase in horsepower for daily driving and towing.
Tip: We recommend Industrial Injection Diesel Performance

Toxic Diesel a Utah Base Company
Toxic Diesel Performance
Source:
US: 866-488-6942